Sauerkraut
Food magic
Based on Sandor Katz’s Wild Fermentation recipe.
While the linked website’s recipe has morphed a bit over time, it’s based on about the simplest form of fermentation there is: add a specified concentration of pure salt to a vegetable and let it sit in a warm room under a bed of its own CO2. I would suggest reading the article thoroughly, rather than just relying on what I say. My process is tuned for my equipment, so I’m not going to mention much about alternatives. For example, the discussion of making sure the cabbage is covered by the saltwater solution is not something I’ll talk about because it’s just something that happens with my process without me needing to do anything active.
When it comes to fermentation, knowledge is key. There are a million different ways to make a fermented product and most people just tell you how to do it the way they do under their conditions. Knowing when your conditions are different in a way that matters is crucial. And the only way you can know when a difference matters is if you know the fundamentals.
That said, in my case, I shoot for a 2% concentration of salt, which means, for every 1 kg (1,000 g) of cabbage, I add 20 g pure salt. When I say “pure salt,” I mean something that only has “salt” on the ingredients list. While I generally prefer Diamond Crystal Kosher Salt for most of my cooking, I don’t think it really matters what you use here. Typically, I’ll have a big box of Morton’s Canning and Pickling Salt for the purpose.
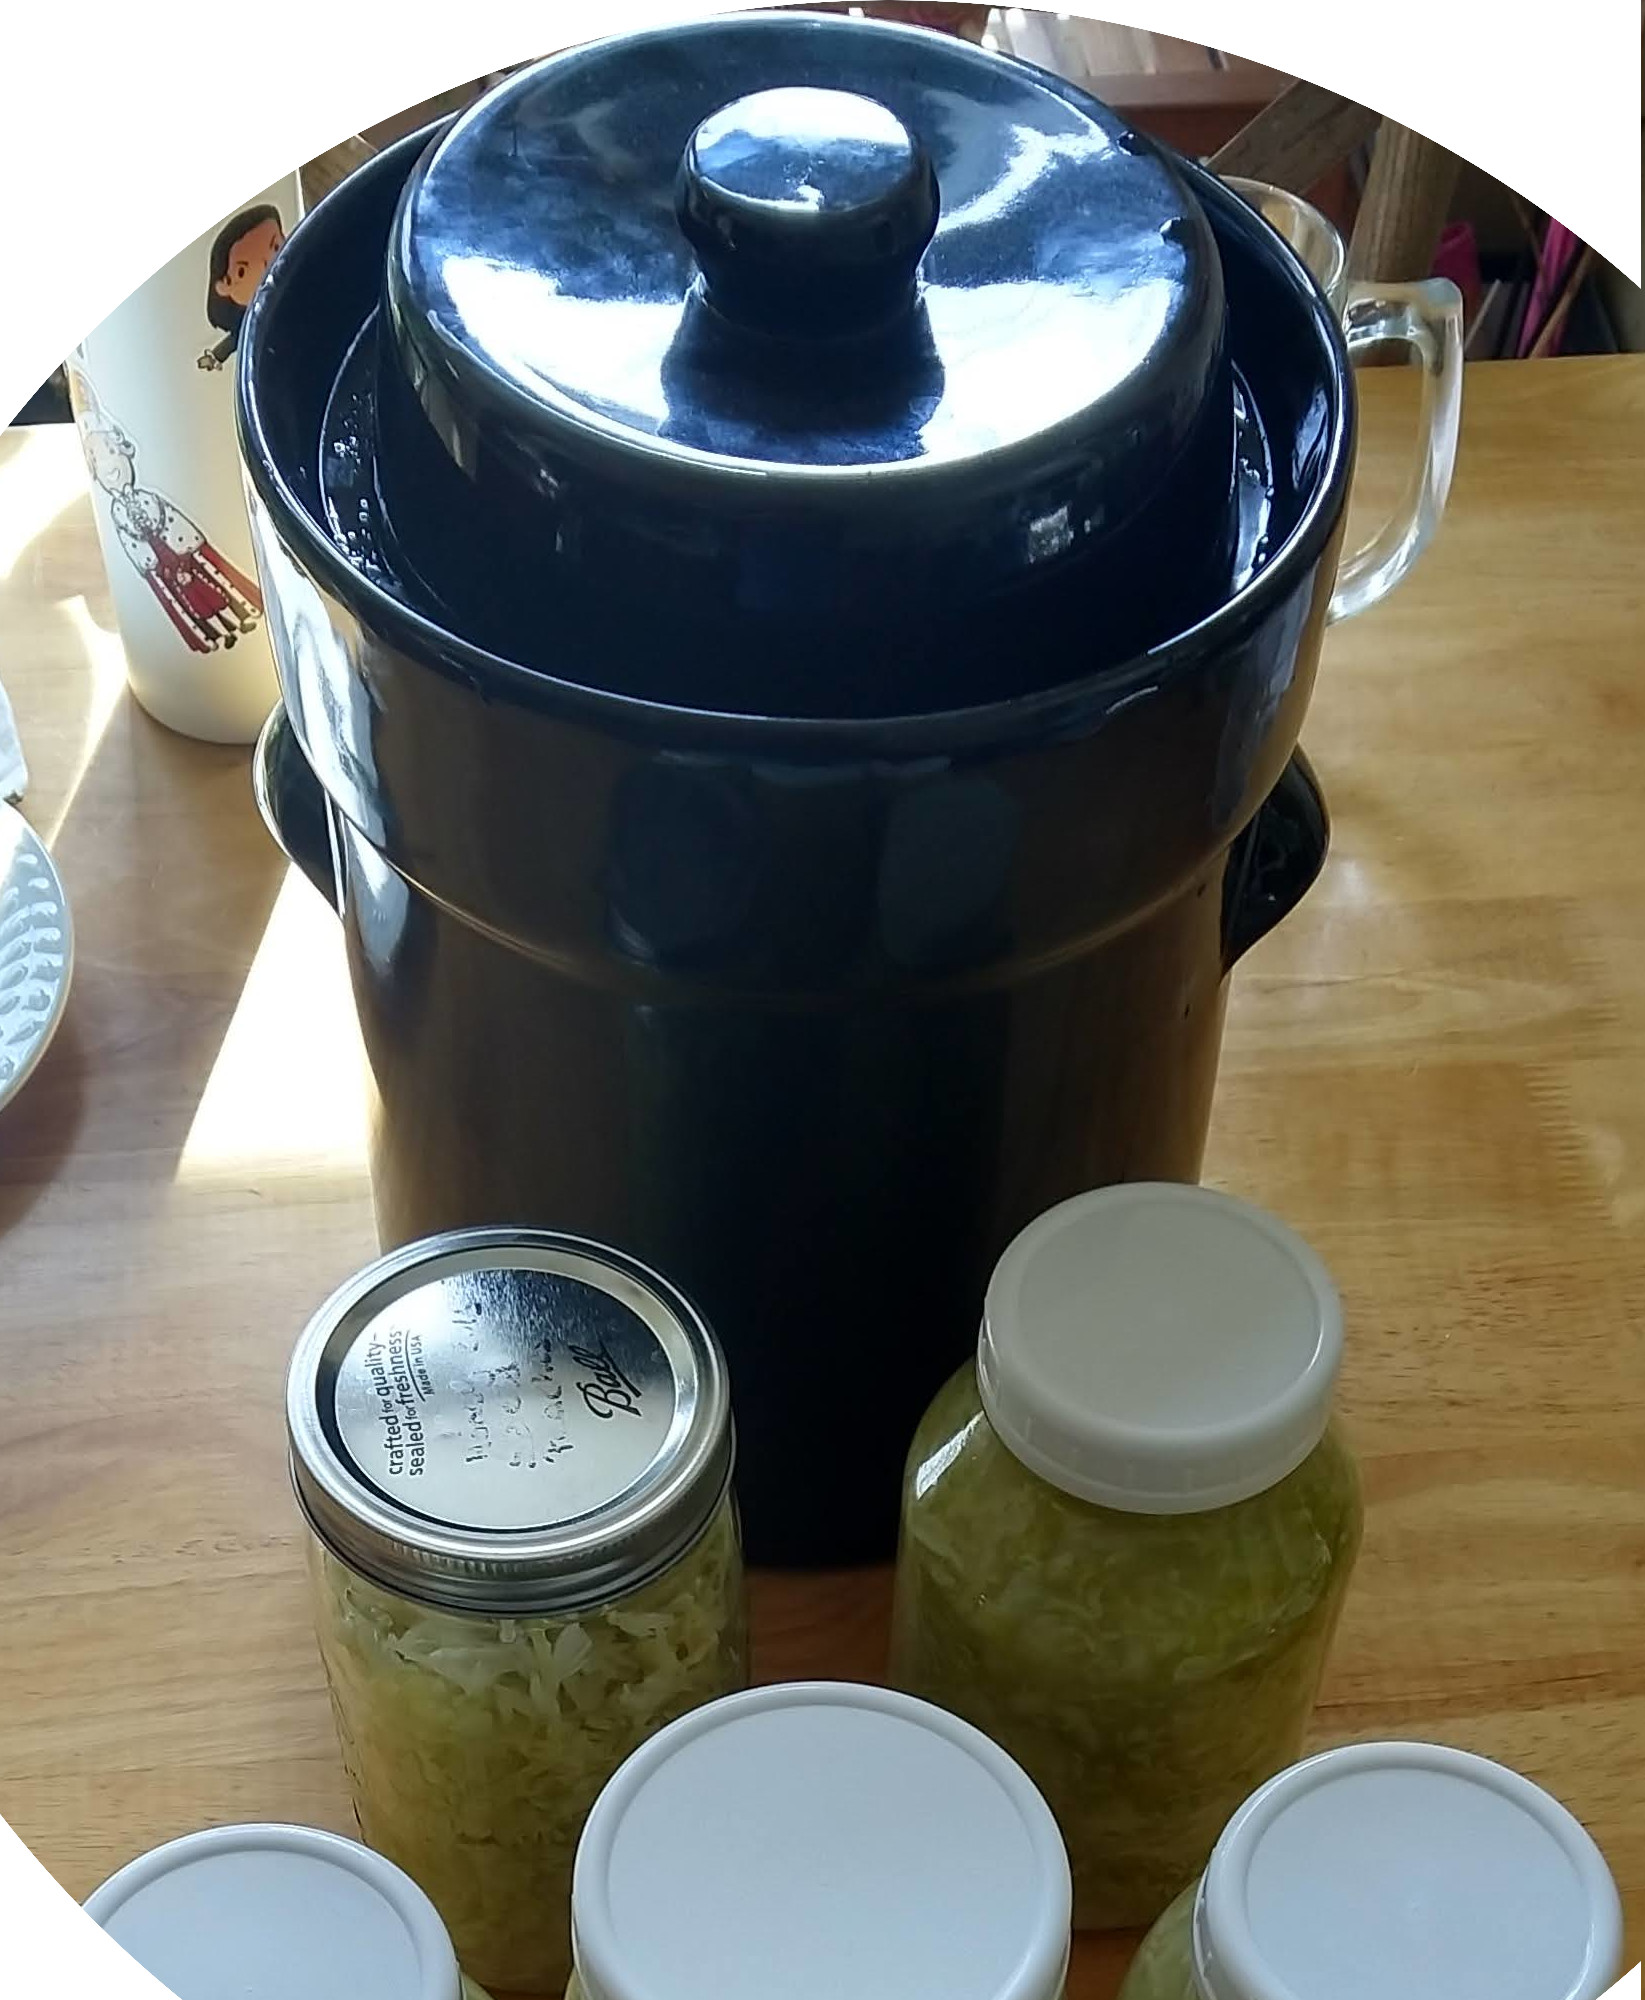
Finally, a “bed of CO2” is accomplished, in my case currently, by a 5 L crock. After packing the crock with cabbage and salt, I weigh it down and put some sanitizing solution in the ring around the top to form a seal where pressure from the inside can release, but no bugs or impurities from the outside can get in. Since the fermentation process creates CO2, there’s positive pressure in the crock in the early stages that pushes oxygen out, leaving behind a nice bed of CO2 sitting over the cabbage and preventing formation of any yeast.
In the past, I’ve used Mason jars with plastic lids. I’ve found, if they’re packed close enough to the top, I can leave the lid on loosely and let the gas escape. Inevitably, liquid comes out as well, so I make sure to have a plate underneath that I empty out occasionally.
The crock is easier, though. I just need to keep an eye on the airlock and I don’t lose any of the precious sauerkraut juice.
Ingredients
- Cabbage (~14 lbs. fills my 5 L crock)
- Salt
Recipe
- Slice cabbage into ribbons (I use a food processor for this because I like the small, uniform ribbons) until you have a good pile. A good pile for me is a full food processor which is ~500 g.
- Weigh the pile of cabbage and take note of the reading. Place in fermentation container.
- Measure out 2% of the weight of the cabbage in salt and sprinkle over the top.
- Continue until cabbage is all packed away. I have a Pickle Packer (I’m not actually sure of my brand, but it looks just like the link) to make sure and pack the cabbage in tight, but this isn’t strictly necessary.
- Weigh down cabbage with weights if you have them, put the crock lid on, fill the airlock with rinse-free, food-safe sanitizing solution like Star San or Iodophor - if you have a homebrewing store nearby, they can supply you - or 80+ proof alcohol. After a while, you might need to add some more due to evaporation, but take care not to add too soon. Temperature fluctuations, particularly transitions from warm afternoon to cool evenings, will pull the liquid down, making it low. The airlock is still doing its job, you just can’t see the high level on the other side. Only add more when the level is low even after warming up and the level within and without have become more equal. You shouldn’t have to do this more than a handful of times in a month-long ferment.